Individual posts do not have individual layouts. Every post on your blog is drawn using a shared design, which is why a blog stays consistent as it grows and why you write posts instead of building them.
Those shared designs are edited from Blog → Design in the sidebar.
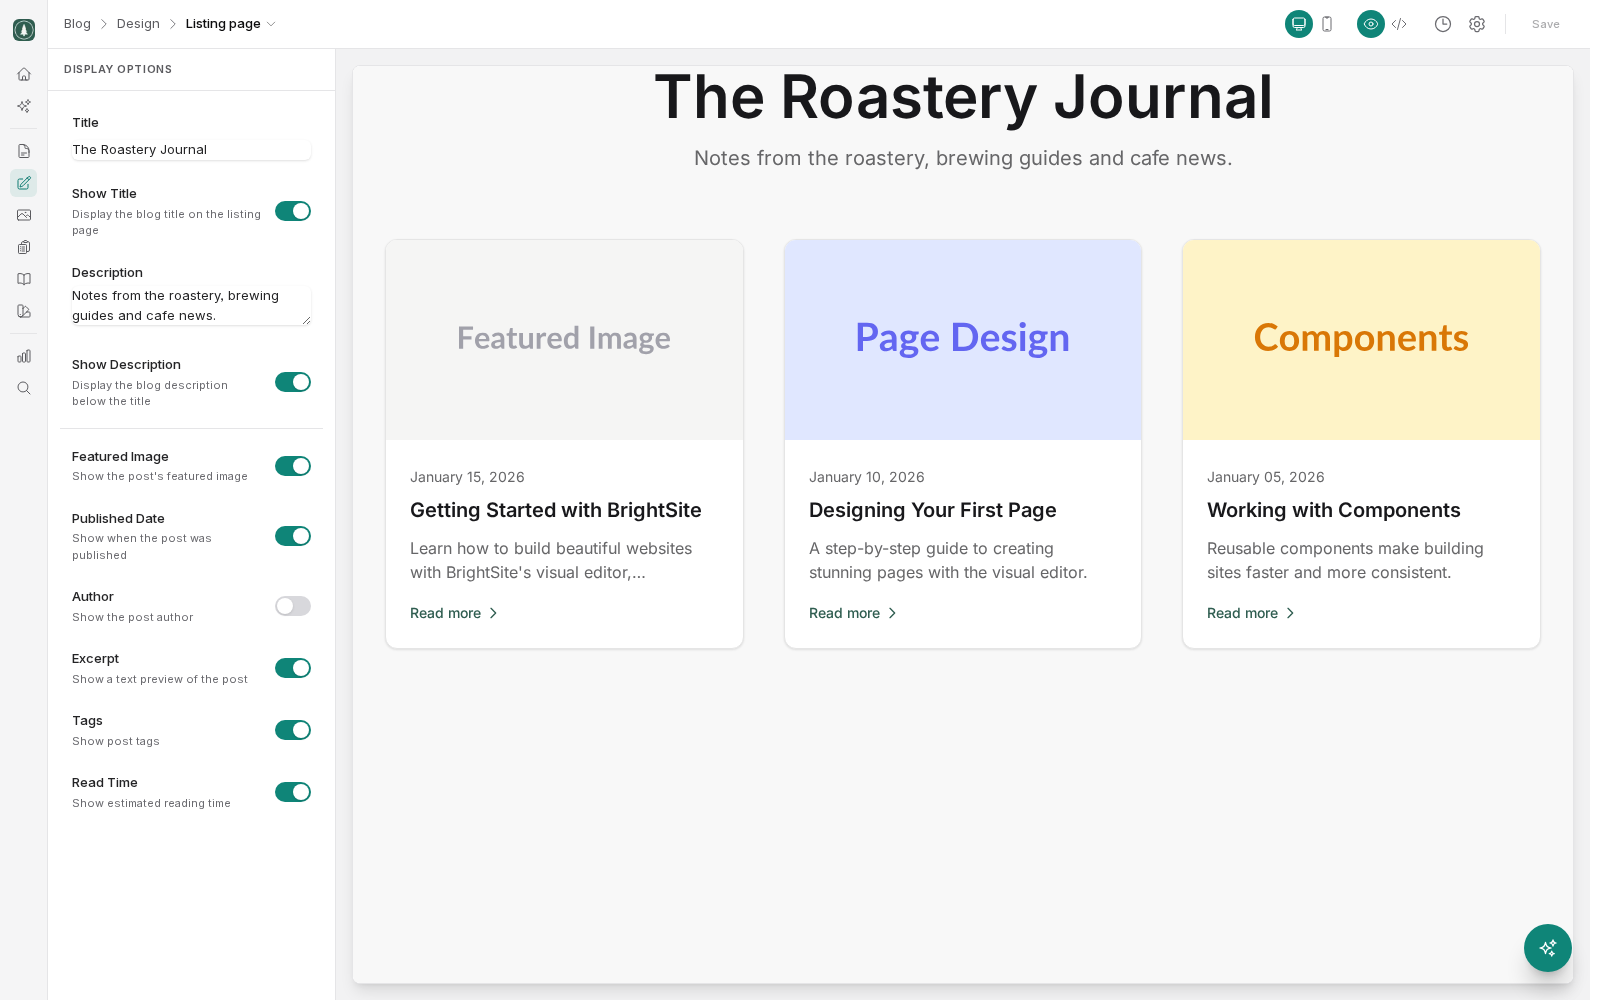
Know the three designs
There are three, and each covers a different part of the reading experience:
- The listing page. The page at your blog's address that shows your posts, newest first. This design controls the heading area and how each post is presented in the list. That covers its image, title, date and excerpt.
- The post template. The frame around a single article. It positions the title, the feature image, the date and author, and the body of the post itself. Change this and every post on your blog changes with it.
- The related-posts block. The set of suggested articles at the end of a post. It has its own design because it appears within the post but behaves like a small listing of its own.
Together these cover the whole blog. If something about your blog's appearance is not controlled by one of the three, it is likely coming from your site's layout or global styles instead, which is where a shared header, footer or font would be set.
Work in preview and code modes
Each design has two ways of working on it. A preview shows you the design rendered with real content from your blog, so you can see the result rather than imagining it. A code mode gives you the underlying template and styles directly.
The preview is how you check your work. Because it uses real posts, it will show you the awkward cases that a mock-up hides: the post with a very long title, the one with no feature image, the one with a two-line excerpt. Those are worth looking at before you publish, since a design that only works for tidy content will break the first time someone writes a long headline.
Code mode is the precise tool and it is where an agency or a developer will spend their time. Editing it needs some familiarity with templates and CSS. If you are not comfortable there, changing what appears is often better done through the Display Options toggles beside the preview, which need no code at all.
Publish each design separately
The blog designs follow the same rules as the rest of BrightSite. Your edits go into a working copy that only your team sees, and the live blog keeps its current appearance until you publish.
Each of the three publishes on its own. Editing the listing and the post template in one sitting means publishing both. Publishing one does not carry the other with it. If your blog looks half-updated after a design change, an unpublished second design is the usual reason.
Use the version history
Each design keeps its own version history, which matters more here than almost anywhere else in the product. A design change affects every post at once, so a change that turns out badly is visible across the whole blog rather than on a single page.
History is what makes that recoverable: you can look back at previous versions and restore one. Restoring republishes the design, so it needs publish permission, not just edit permission. Writing a change note when you publish a design is a small habit that repays itself when you need to identify which version was the good one.
Decide where a change belongs
Before editing the code, check whether the change is really a display toggle. Turning the author, date, read time, excerpt, tags or feature image on and off are all switches in the Display Options panel on the listing and post template designs. Whether related posts appear at all is a switch on the post template. The two designs share these switches, and a switch saves as soon as you flip it, with nothing to publish.
Reach for the code when you want to change how something looks or where it sits. Use the toggles when you only want to change whether it appears. Toggles are quicker, need no code, and cannot leave you with a broken template.