A staging site is a private copy of your entire site. You can rebuild pages in it, try a new layout, or work through a large batch of changes, and none of it touches the site your visitors see until you decide to promote it.
Publishing one page at a time handles everyday edits. A staging site is for the times when that is not enough: a redesign, a restructure, or any set of changes that only makes sense reviewed together.
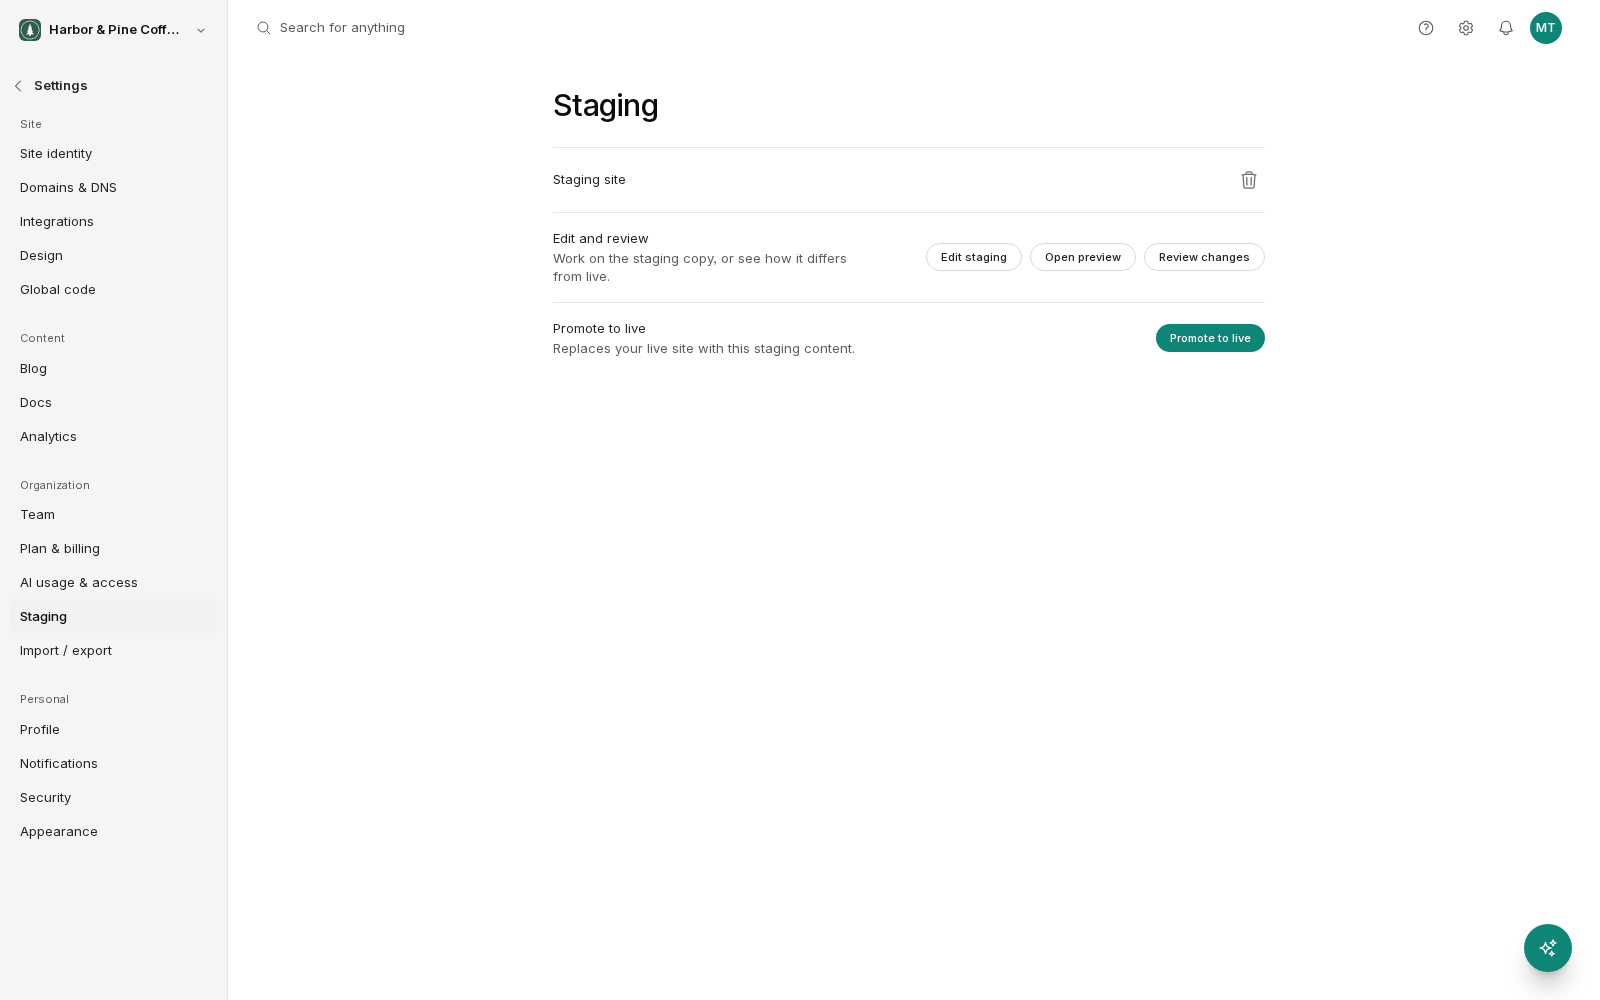
Create a staging site
You create a staging site from Settings → Staging (click the cog icon in the top right, then Staging under Organization). Creating it copies your live site as it currently stands (pages, posts, forms, components, layouts, settings) into a separate copy you can work in.
The copy is taken at the moment you create it. It does not keep syncing with the live site afterward. If someone publishes a change to the live site while you are working in staging, that change is not automatically in your staging copy, which is one reason to keep staging work reasonably short-lived.
Staging sites are included on the Scale plan. There is a limit on how many you can have at once. If you have reached it, promote or discard a staging site you have finished with to free up the slot.
Work in staging
Editing in staging is exactly like editing your live site. The same editors, the same lists, the same publish action within the staging copy.
Because it looks so similar, BrightSite makes it obvious where you are: while you are working in a staging site an amber banner sits across the top of the app, and it carries an option to exit staging and return to your live site. If you see the amber banner, nothing you do is affecting your public website. If you do not see it, you are on the live site and normal publishing rules apply.
Editing the live site while believing you are in staging is the most common staging mistake. Check the banner before you start.
Review the changes
Before promoting, compare your staging site against the live one. BrightSite can show you what differs between the two, so you can see the set of changes you are about to ship rather than trying to remember it.
Read that list properly. It is the last point at which a page you edited by accident, or a change you meant to undo, is easy to catch. It is also the natural thing to send to a client or a colleague for sign-off.
Promote staging to live
Promoting takes the staging site and makes it your live site. Everything in the review goes public at once.
This is the significant, hard-to-walk-back action in the staging workflow, so treat it accordingly. Promote when the review is clean and someone has actually looked at the site, not merely at the list of changes. It replaces the live site as a whole, which is what makes it useful for a redesign and what makes it worth pausing over.
Discard, archive and restore
If work in a staging site is not going to be used, discard it. That throws away the staging copy and its changes. Your live site is untouched. Discarding a staging site never affects what visitors see.
Discarded and finished staging sites are kept as archived sites rather than being destroyed outright, and an archived site can be restored if you find you needed it after all. Do not treat that as an indefinite guarantee: if a staging site holds work that matters, promote it or copy the content you need out of it, rather than relying on retrieving it from the archive later.
Decide between staging and normal publishing
Use normal publishing for anything you can review on its own, such as a headline change, a new blog post, a price update or a new page.
Use a staging site when the changes span many pages, when the site would look broken halfway through, or when someone needs to approve the whole thing before any of it is public.