Settings → Blog holds the options that apply to the blog as a whole. Click the cog icon in the top right, then Blog under Content. This is where you decide whether the blog exists, what it is called, where it lives and how the listing splits posts into pages.
These settings apply to every post at once. Anything you want to vary from one post to the next is set on the post itself.
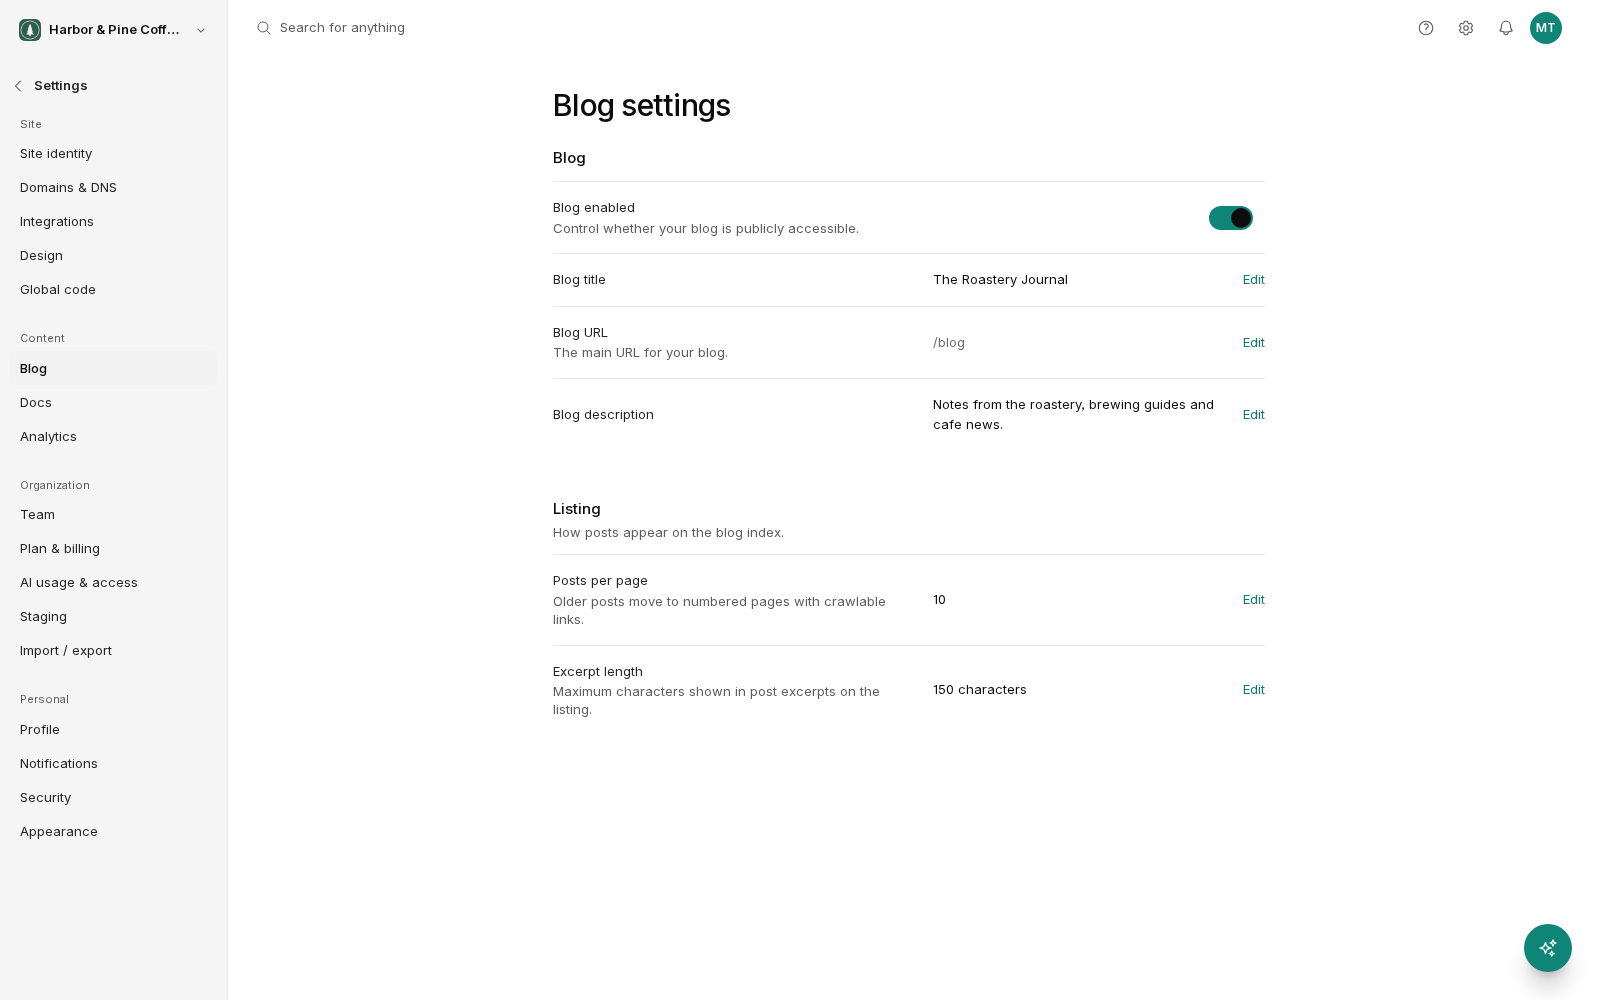
Enable or disable the blog
A single toggle controls whether the blog is part of your site. With it off, the blog and its posts are not reachable by visitors.
Turning it off does not delete anything. Your posts, designs and settings stay exactly as they are, and turning it back on restores the blog as it was. That makes it a safe way to prepare a blog quietly and launch when you have a few posts ready, rather than launching with an empty listing.
Set the blog title and description
The blog has its own title and description, separate from your site's name and from any individual post.
The title names the blog, often just "Blog," sometimes something specific to the business. The description is a sentence or two saying what the blog covers, which helps a first-time visitor decide whether to read on. Both are typically shown at the top of the listing page. Whether they appear there is controlled by the Show Title and Show Description toggles in the listing design, under Blog → Design.
Choose the blog address
The blog's address determines where the listing lives and what every post address begins with. The default is /blog, and alternatives like news, insights or resources are common.
Settle this early. Changing the address later moves every post to a new address at once, so any existing link, from another website, from search results, from an email campaign already sent, stops working unless you put redirects in place. The blog does not create redirects for you, so if you do need to change the address after publishing, plan the redirects as part of the same job.
Control the listing
Two settings shape how much of each post appears in the list.
Posts per page sets how many articles appear before a reader has to move to the next page. A smaller number keeps the page light and quick; a larger one lets people scan more of your writing without clicking. Somewhere between ten and twenty suits most blogs.
Excerpt length caps how much of a summary is shown on the listing before it is trimmed. It gives every card a consistent size, which keeps the listing tidy when your excerpts vary in length. Note that this trims the display only; it does not alter the excerpt you wrote on the post.
Choose what appears on a post
The switches for what is shown on your posts are not on this screen. They are in Blog → Design, in the Display Options panel beside the preview:
- Author: who wrote the post.
- Published Date: when it went out.
- Read Time: an estimate of how long the article takes to read.
- Featured Image: whether the post's main image is displayed.
- Excerpt and Tags: the summary and the post's tags.
- Related Posts: whether suggested articles appear at the end. This one is on the post template design.
Each switch applies to the whole blog, and the listing and post template share them, so turning Author off in one turns it off in the other. A switch saves as soon as you flip it. There is nothing to publish.
These are worth a deliberate decision rather than leaving at their defaults. Dates help on news and timely writing, but make evergreen guides look stale a year on. Author names suit a blog with several writers and add little on a one-person business site. Read time sets expectations on long articles.
Know what belongs here and what does not
This screen covers the blog as a whole: whether it is on, its name, its address and how the listing pages. Whether a piece of information appears on your posts, and how it looks, is set in Blog → Design.
Anything that varies per post, such as the title, excerpt, featured image, slug, SEO fields and related posts, is on the post, not here. Changing a setting on this page affects the whole blog at once, so it is worth glancing at your listing and one published post afterward to confirm the result is what you expected.