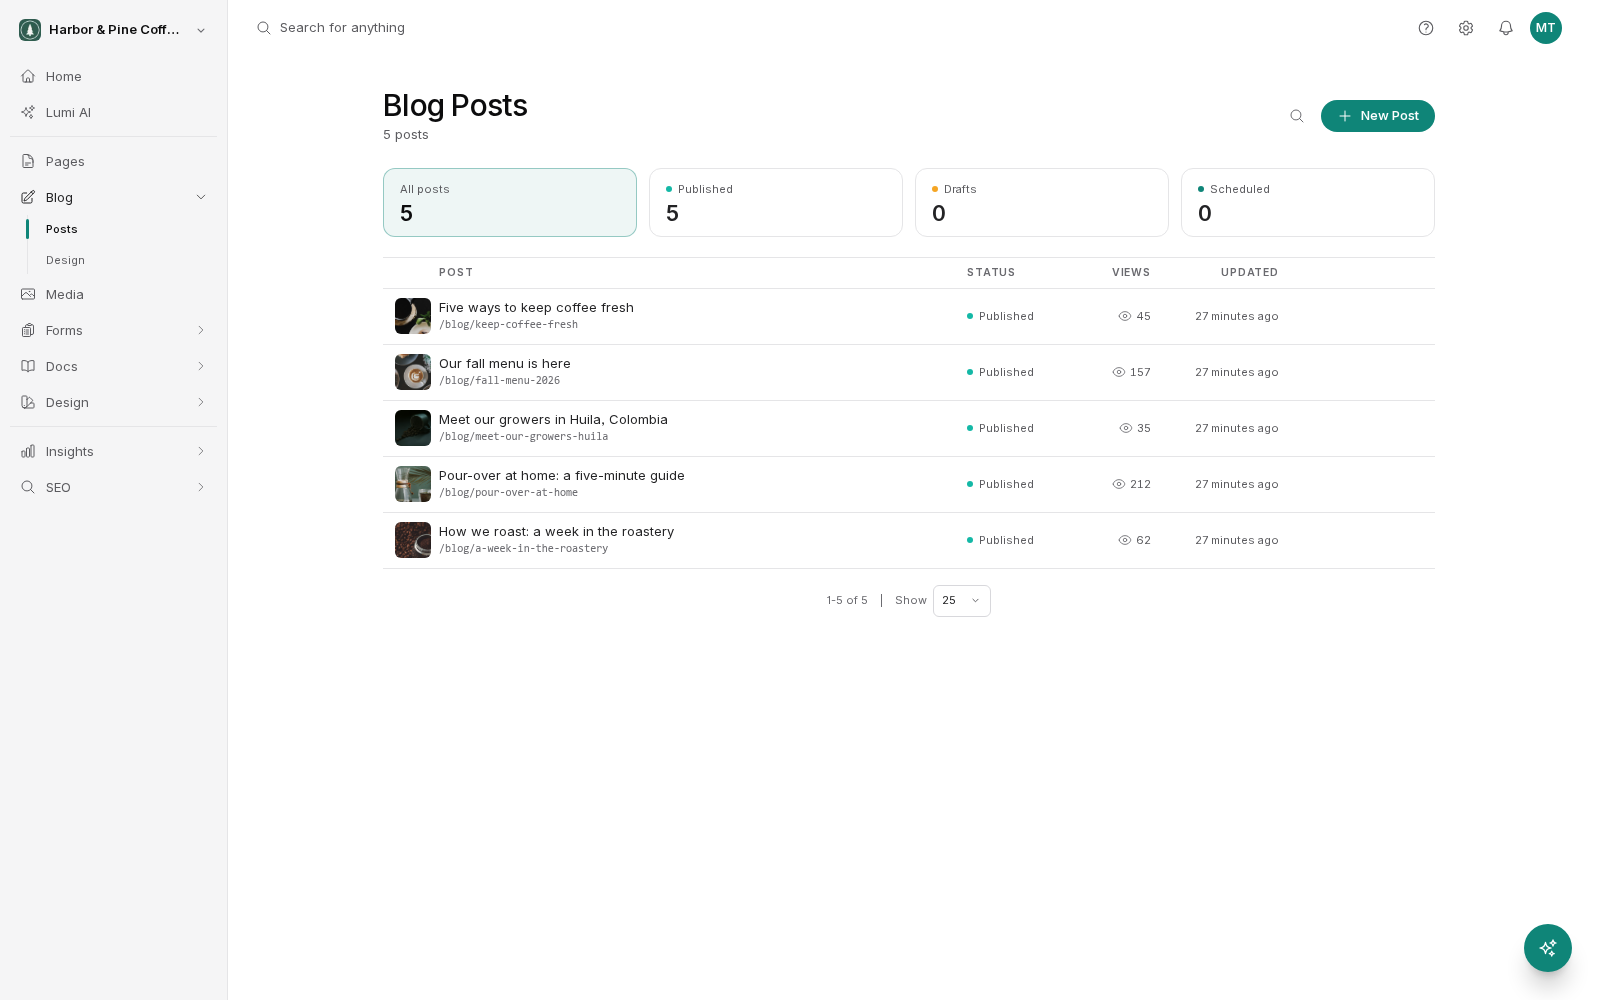
Posts are created and edited from Blog → Posts in the sidebar. A new post starts as a draft, so you can work on it for as long as you like before anyone can read it.
Write the title and body
The title is the headline of the post. It is used on the blog listing, at the top of the post, in the browser tab and, unless you override it, in search results. Write it for someone deciding whether to read, and put the specific words first. The useful part of a title is rarely at the end.
The body is where you write the article. You have the usual formatting: headings, bold and italic, bullet and numbered lists, links, quotes and images within the text.
Use headings properly rather than as decoration. They break a long article into scannable sections, they give readers a sense of structure, and search engines use them to understand what the post covers. Most readers scan headings before committing to the text, so a post whose headings tell the story on their own tends to hold attention.
Add a featured image
The featured image represents the whole post. It appears on the blog listing card, usually at the top of the post itself, and it is what shows up when the post is shared on social media unless you set a different social image.
Because it is displayed at several sizes and often cropped to a wide shape, pick something that survives cropping. Images with fine detail or text near the edges tend not to. Any image you use is stored in your media library, so you can reuse it later.
Write the excerpt
The excerpt is the short summary shown under the title on the blog listing, and often used when the post is shared.
Write it deliberately. If you leave it empty the site can fall back to the opening of your post, and opening sentences are usually written to lead into an article rather than to summarize it. Two sentences saying what the reader will get out of the post will do more work on the listing page than any automatic fallback. The blog settings control how long an excerpt is allowed to run before it is trimmed.
Set the post's own settings
Alongside the content, each post has settings worth a look before it goes out:
- Slug: the post's own part of its web address. Keep it short and readable, and settle it before you publish.
- Meta title and meta description: what search engines show. Leave them empty and your title and excerpt are used, which is often fine. Set them when you want the search listing to read differently from the page.
- Social image: overrides the featured image for sharing, useful when you want a different crop or wording for social.
- Related posts: the articles suggested at the end of this one. You can choose them per post to steer readers somewhere specific.
Changing the slug of a published post
Changing the slug of a post that is already public changes its address, and the blog does not create a redirect for you. Every existing link to the old address, from search results, from other websites, from newsletters you have already sent, from social posts, stops working and lands on a not-found page.
Documentation pages behave differently: they do leave a redirect behind automatically. Do not carry that expectation across to the blog.
So if you change the slug of a published post, add the redirect yourself, pointing the old address at the new one, as part of the same job. See Redirects. Better still, get the slug right before you publish, when nothing is linking to it yet.
Publish the post
Publishing a post works like publishing anything else in BrightSite: your edits stay in the working copy until you publish, at which point the post appears on the blog listing and its address becomes public.
A post goes live as soon as you publish it. Scheduling a post to go live at a later time is coming soon. Until then, keep the post as a draft and publish it when you are ready.
The publish date sets the post's place on the listing, newest first.
Edit a published post
Editing a post that is already public follows the same rule as the rest of the product. Your changes go into the working copy and the live post is unchanged until you publish again, so you can correct or expand an article without readers seeing it half-edited.
Posts keep their own version history, so an earlier version of an article can be recovered. Restoring a version republishes it, which means it needs publish permission rather than edit permission alone.