Open Forms → Forms in the sidebar and create a form, or open an existing one to edit it. The builder is organized into tabs.
Settings
Settings covers the basics of the form itself.
- Name is how you recognize the form in your own account. Visitors do not see it. Name it for what it does: "Contact form", "Quote request", "Newsletter".
- Slug is the form's identifier. It is generated from the name and you rarely need to change it.
- Success message is what the visitor sees after they submit. Confirm you received it and say what happens next, for example how soon someone will reply.
- Submit button text is the label on the button. "Send message" or "Request a quote" reads better than "Submit".
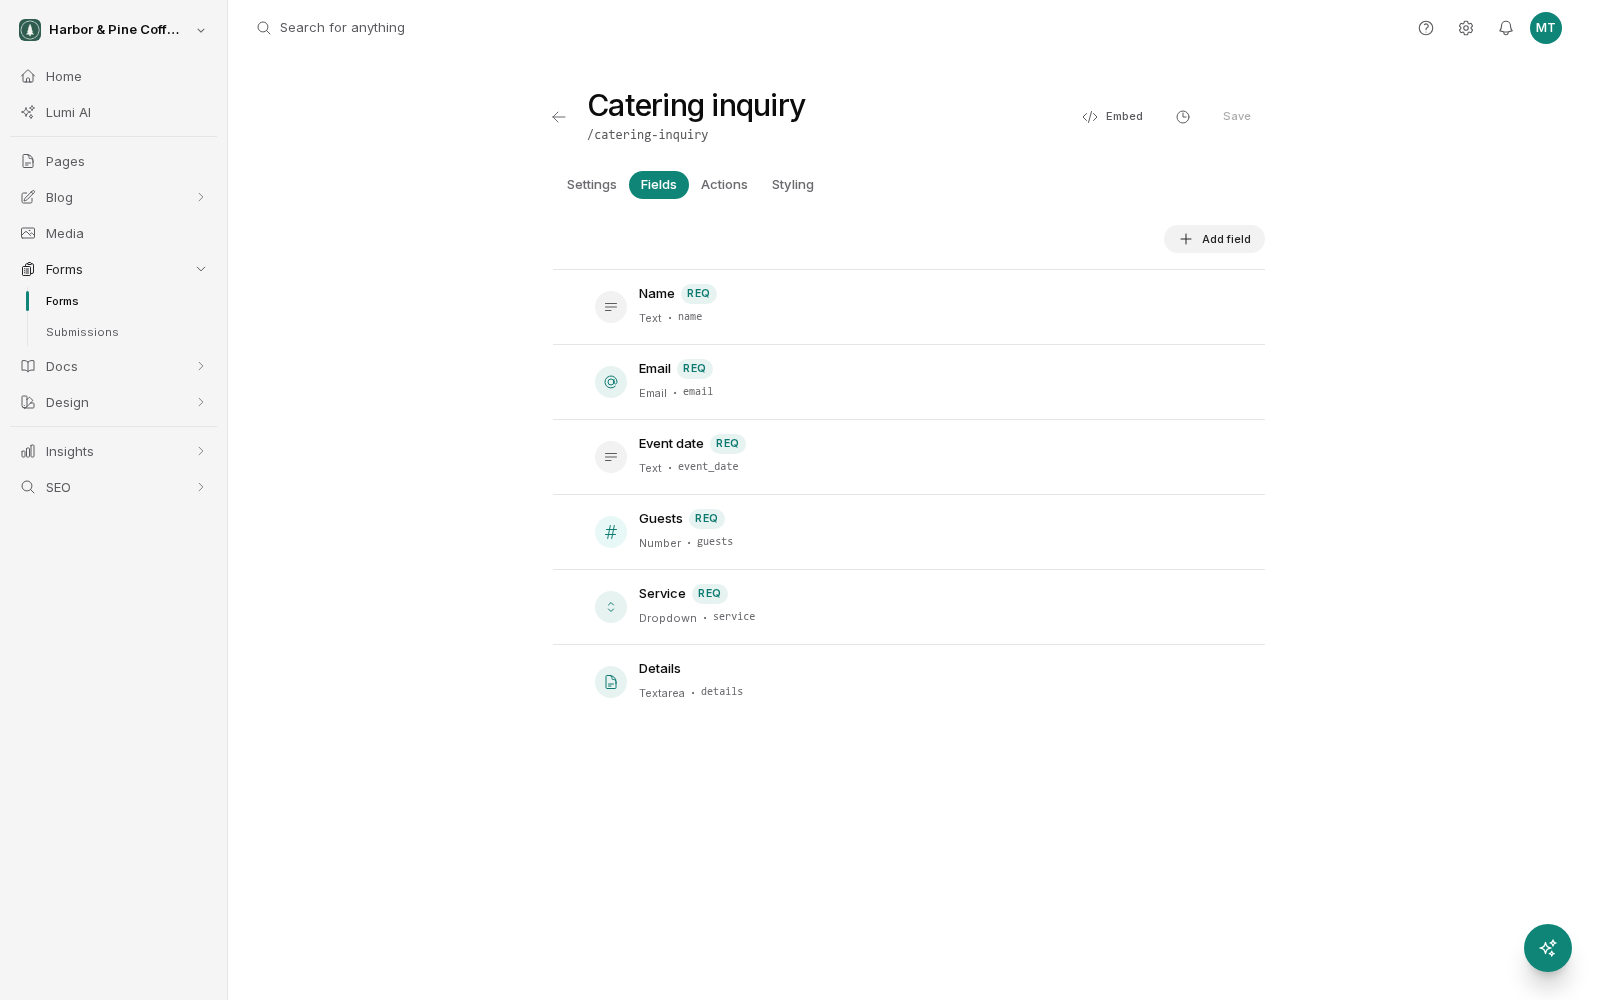
Fields
Fields are the questions. Add them, reorder them, and remove ones you do not need.
Each field has a label, which is the text the visitor reads. Most fields also let you set a placeholder, the faint example text inside the box. Use a placeholder as a hint, never as the only label, because it disappears as soon as someone starts typing.
Mark a field required and the visitor cannot submit without filling it in. Keep required fields to the minimum you actually need.
Field types
- Text for a single line, like a name or a company.
- Textarea for a longer message across several lines.
- Email for an email address. It checks the format looks like an email before accepting it.
- Number for a quantity, such as how many people or how many units.
- Phone for a phone number. On a mobile it brings up the number keypad.
- URL for a web address, such as a visitor's own site.
- Date for a date, with a date picker.
- Dropdown for a list you define, where the visitor picks one option.
- Checkbox for a yes or no, such as agreeing to be contacted.
- Radio for a short set of options shown all at once, where the visitor picks one.
- File upload for attaching a document or image.
Dropdown and radio options
For dropdown and radio fields you write the list of options yourself, one per line. Keep the wording short and unambiguous. If you use a dropdown for something like "How did you hear about us", include an "Other" option so nobody is stuck.
Radio buttons suit two to five options because the visitor sees them all at once. Use a dropdown when the list is longer.
File uploads
A file upload field lets someone attach a file to their submission. There is a limit on file size and on how many files can be attached, shown on the field when you configure it. Say in the field label what you expect, for example "Attach your brief (PDF or Word)". Uploaded files are stored with the submission and you download them when you read it.
Actions
Actions is what happens after a submission arrives: email notifications and webhooks. See Notifications and spam for how to set these up.
Styling
Styling controls how the form looks. Adjust it so the form sits comfortably with the rest of your page rather than looking bolted on. In most cases the defaults already match your site, and you only need this tab if you want something specific.
Publish when you are done
Your edits are saved to a draft copy of the form. Visitors keep seeing the previous version until you publish. A form that has never been published will not work on your live site, so publish before you expect submissions.